8 Capture some testing images of the target
During this lab, keep in mind that you can always reset the pan-tilt platform to the default position by typing:
initPanTiltinto the Command Window.
8.1 Viewing the video feed from the camera
You can see the video that the camera is capturing by typing the following into the Command Window:
preview(CAM)8.2 Capturing an image
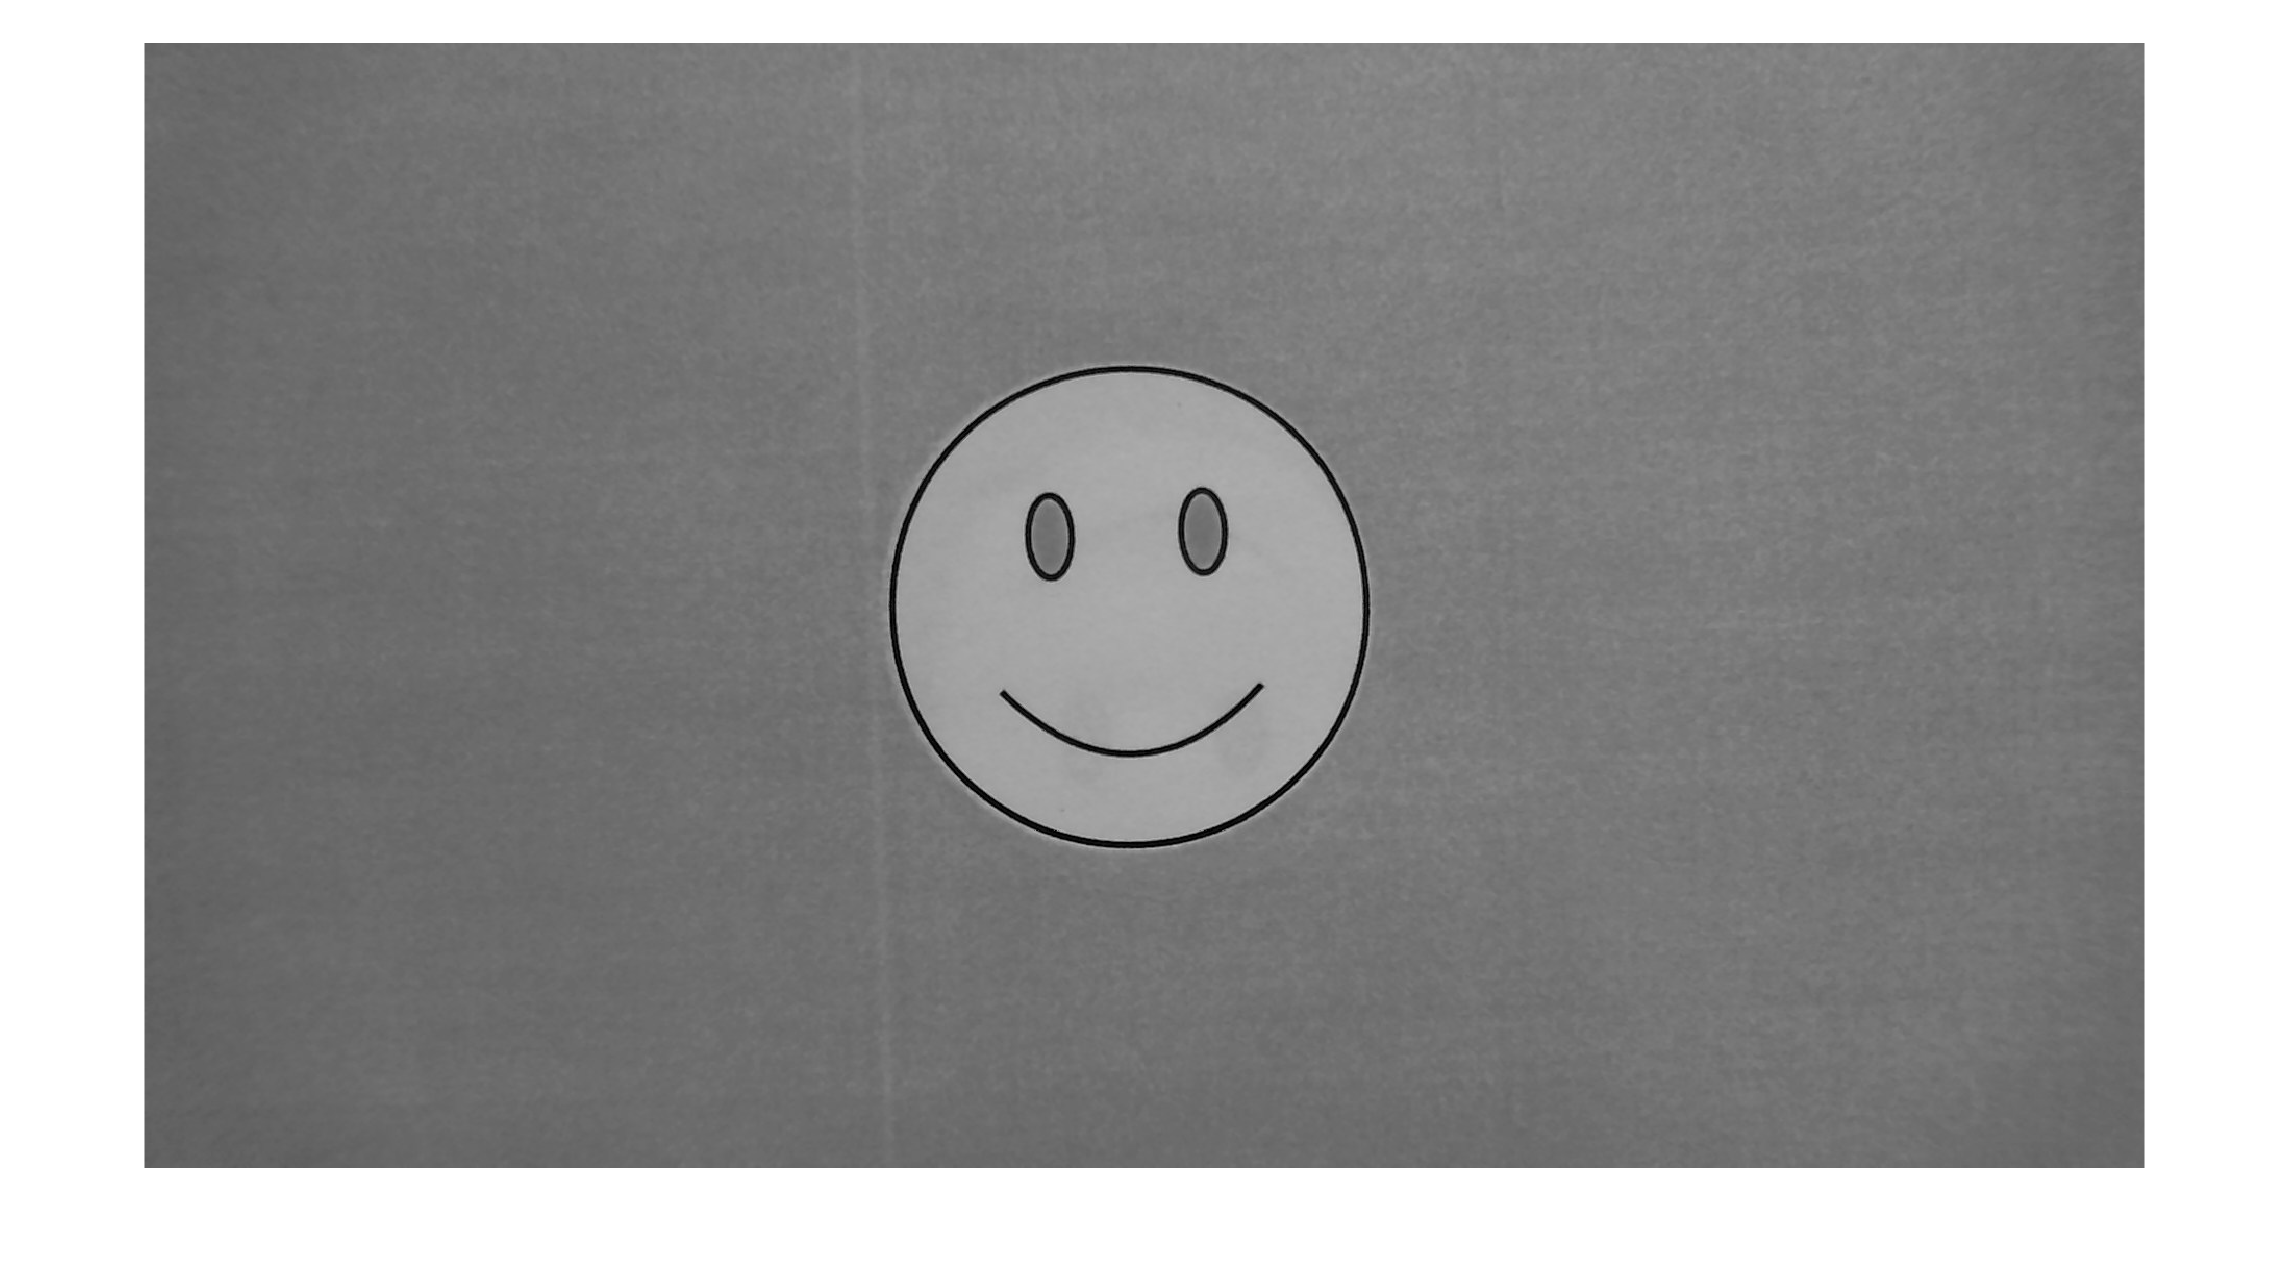
In your kit, there should be a piece of white paper with a smiley face on a gray background. The goal of the lab is to move the camera so that it tracks the location of the smiley face.
Try not to fold or mark the paper during the lab. Capture an image of the piece of paper so that the camera sees only the paper and the black stripe crosses the horizontal midline of the image. To capture an image, type the following into the Command Window (make sure to include the semi-colon):
img1 = snapshot(CAM);You will use the captured image to help test the functions that you will write during the lab.
You can view the image using imshow:
imshow(img1)Your captured image should look similar to the following:
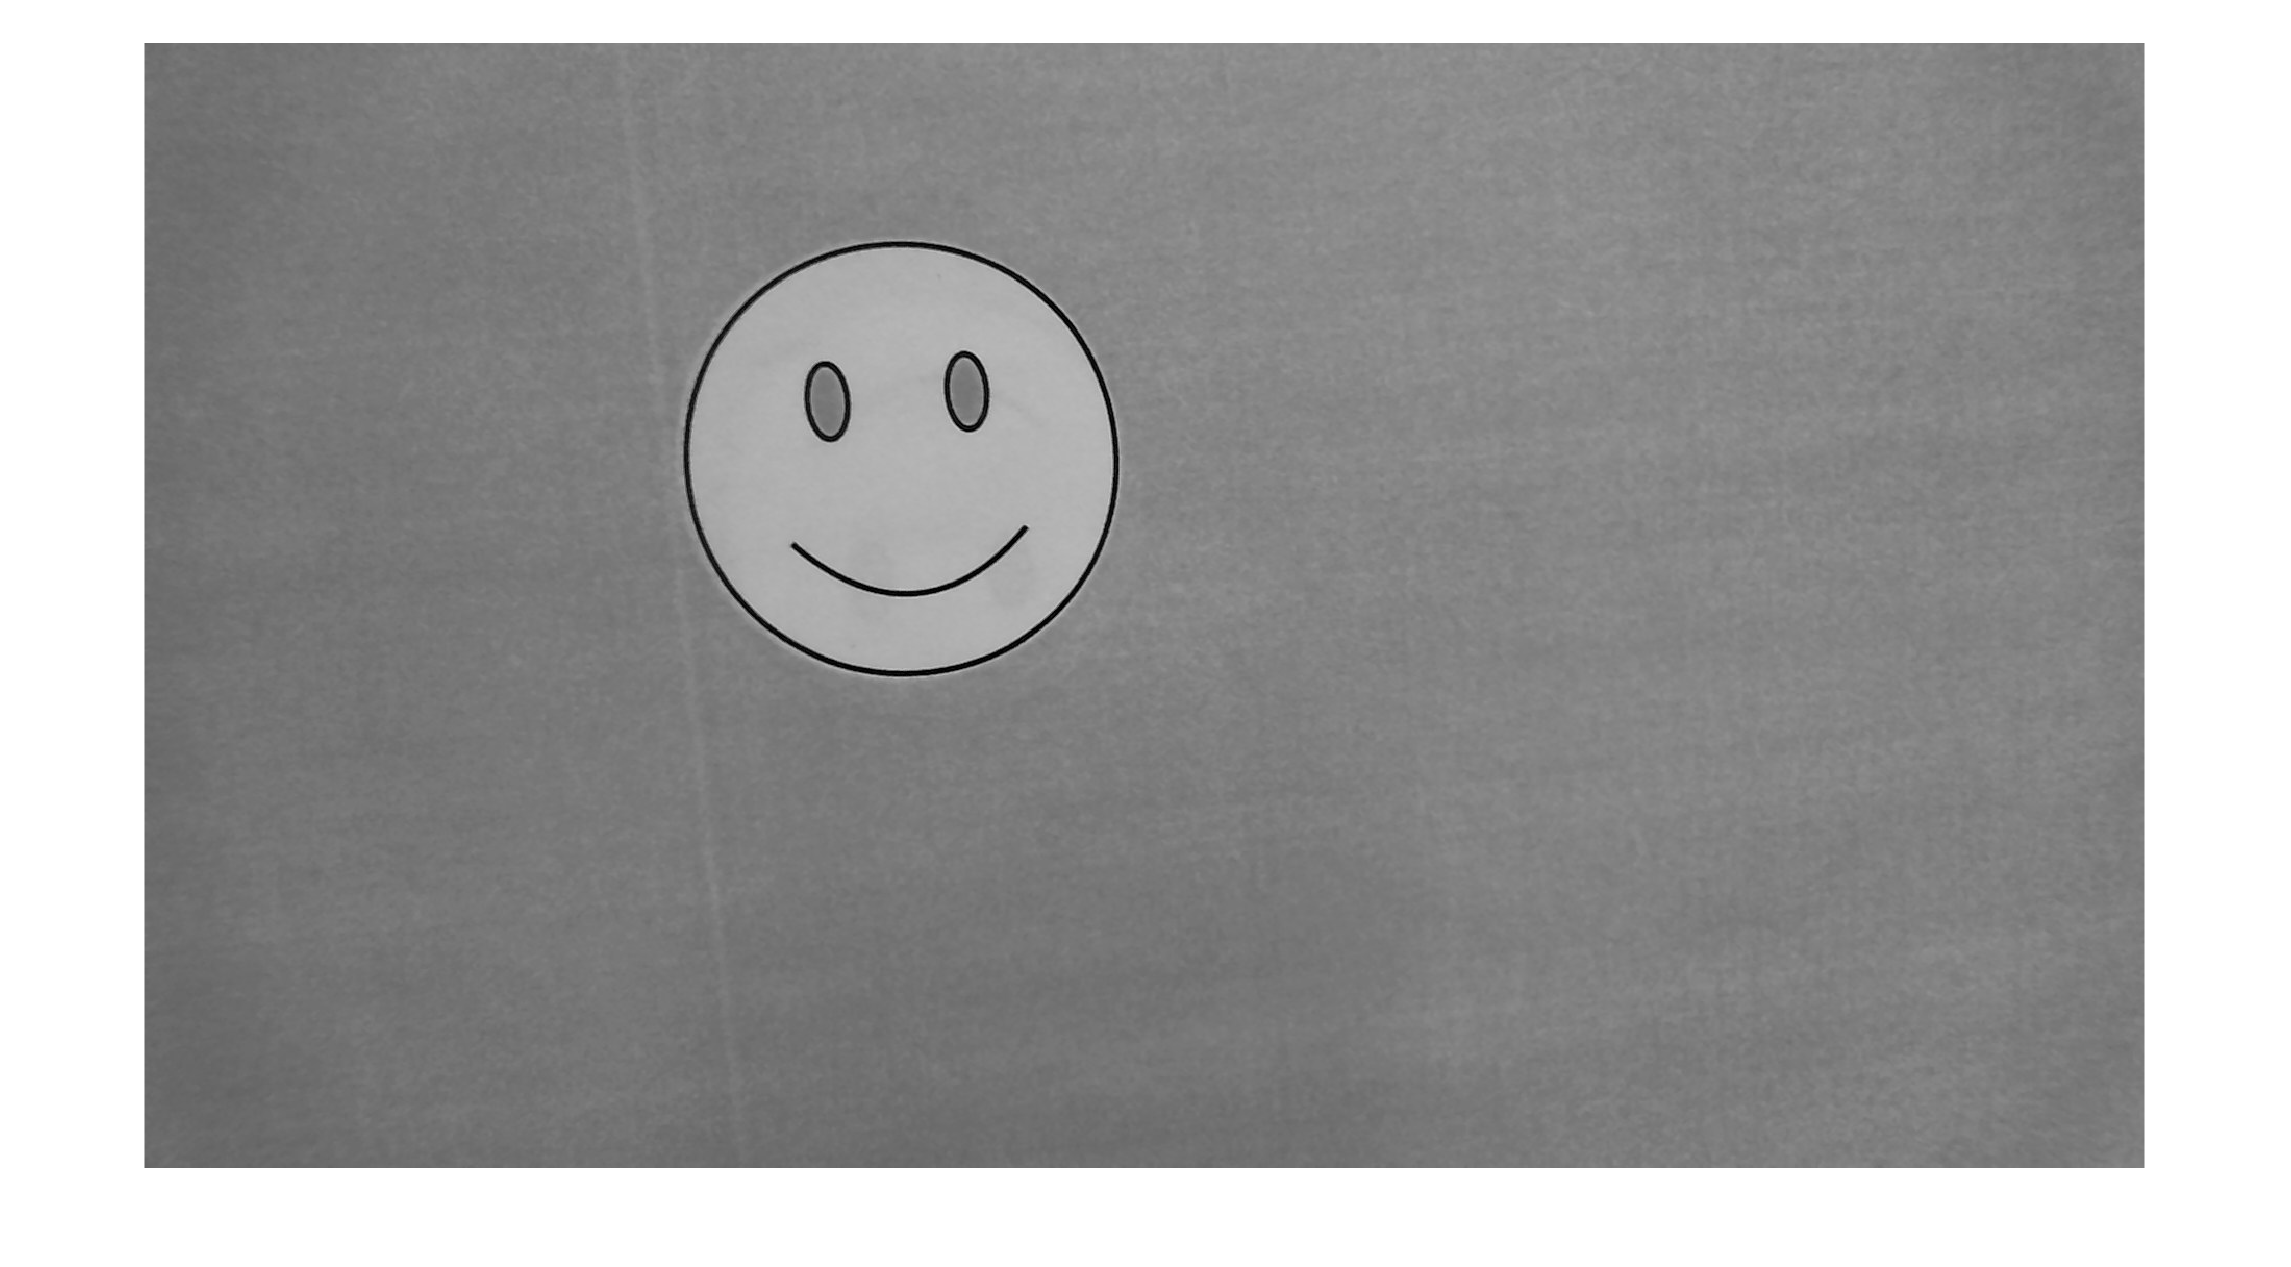
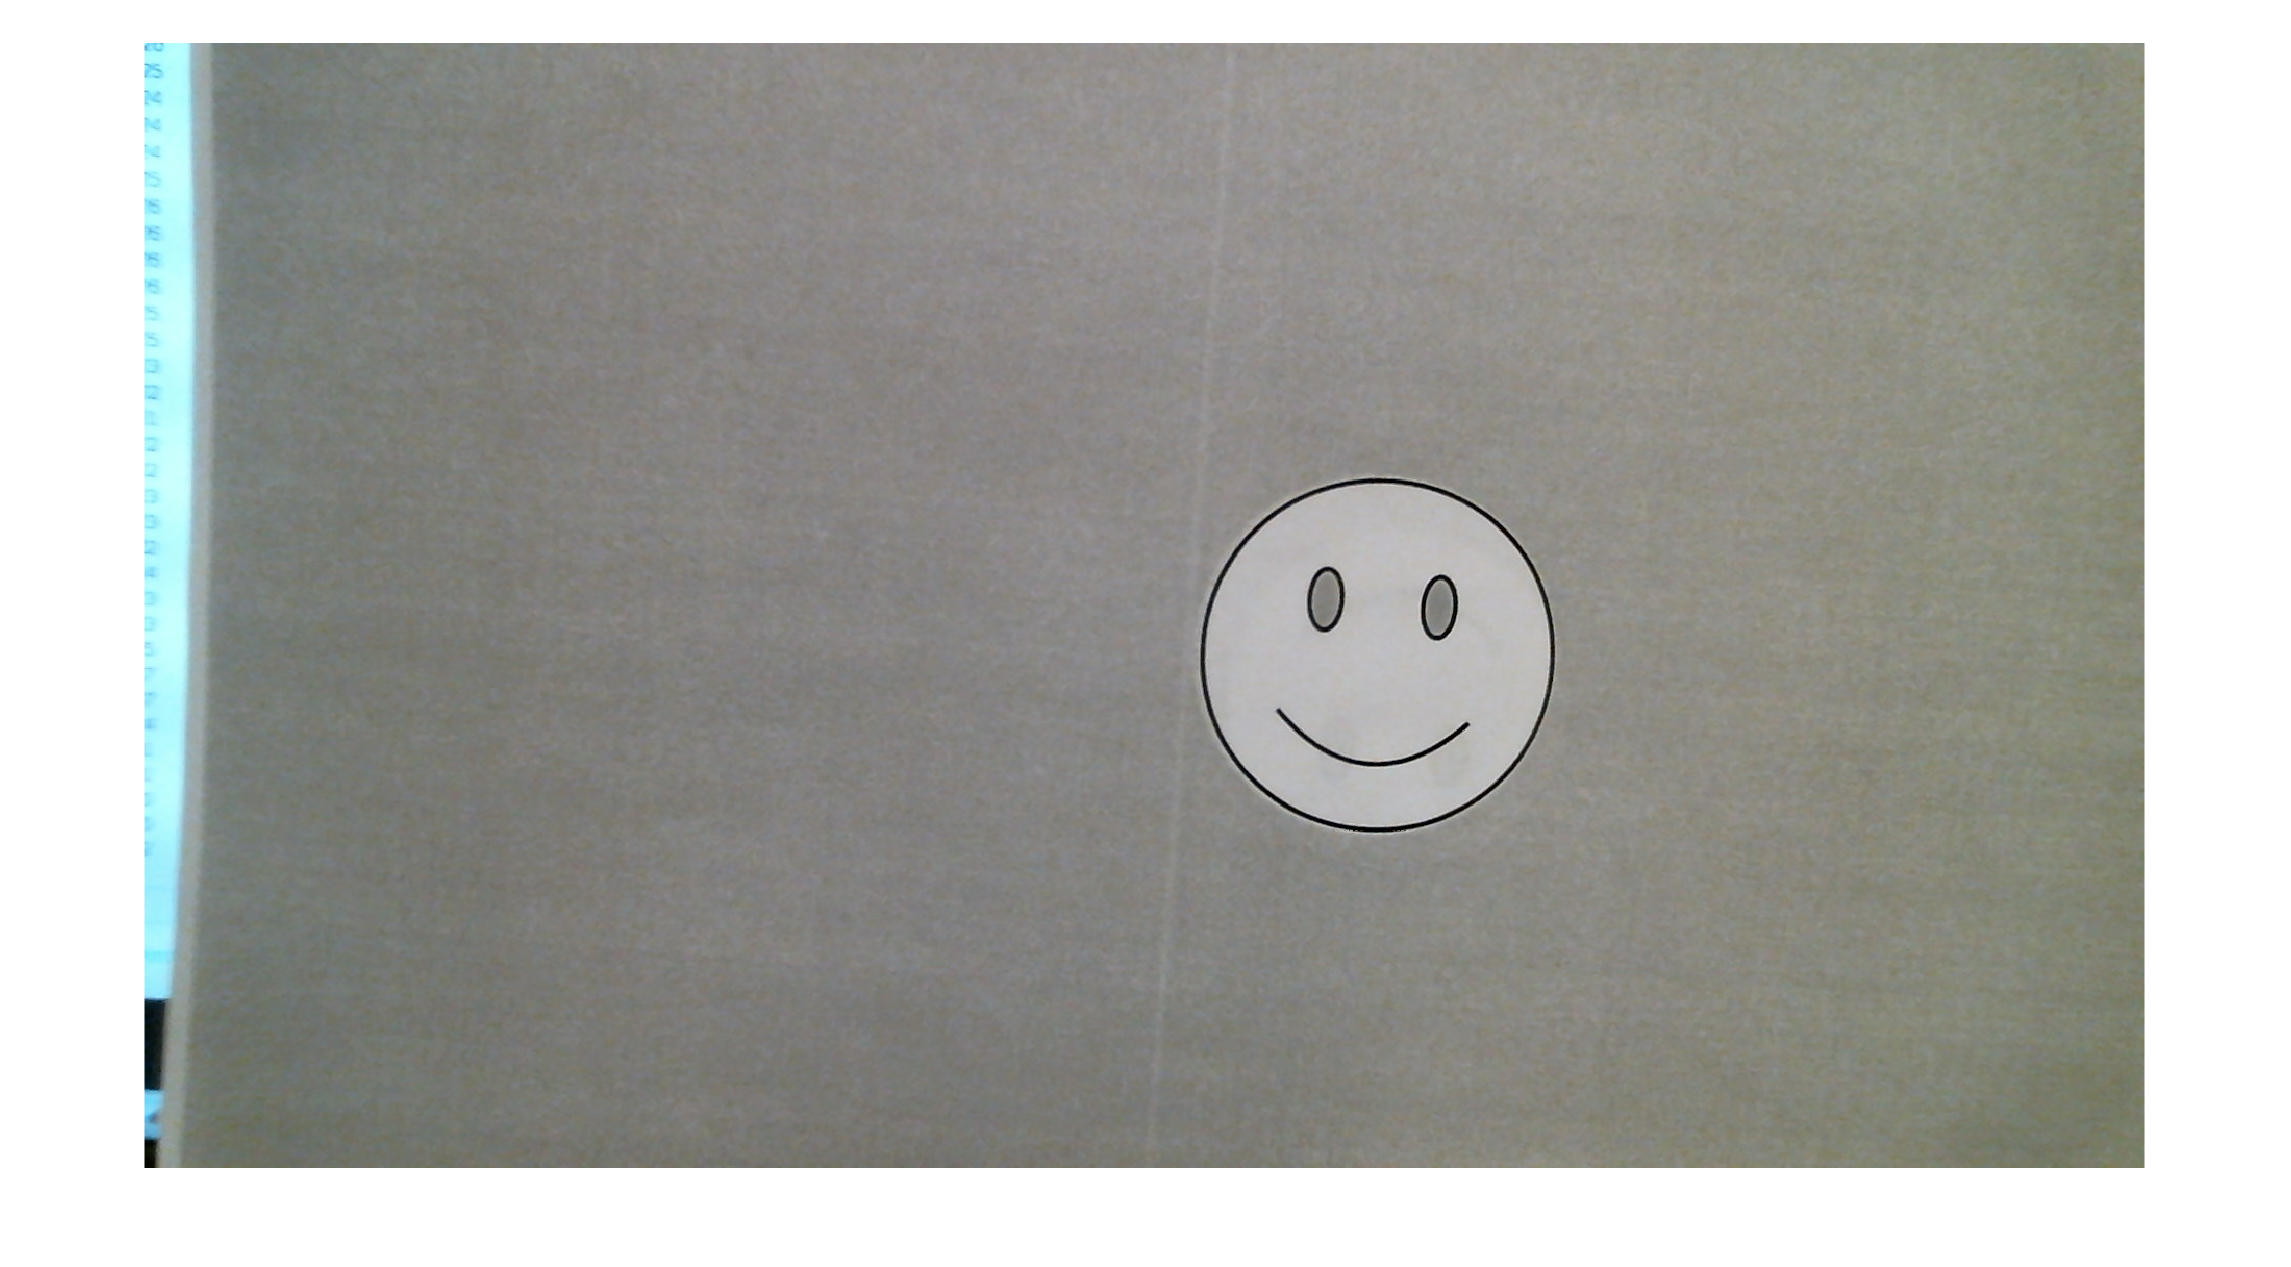
Now capture two more test images with the smiley face off center:
img2 = snapshot(CAM);and
img3 = snapshot(CAM);My captured images looks like the following:
8.3 Convert the captured images to grayscale
Finally, convert your images to floating-point grayscale images by typing the following in the Command Window:
test1 = double(rgb2gray(img1)) / 255;
test2 = double(rgb2gray(img2)) / 255;
test3 = double(rgb2gray(img3)) / 255;