
“Intro to Eclipse” Exercises
LAB #01 Exercise #2:
Creating a new ProjectObjectives: to be able to create a project
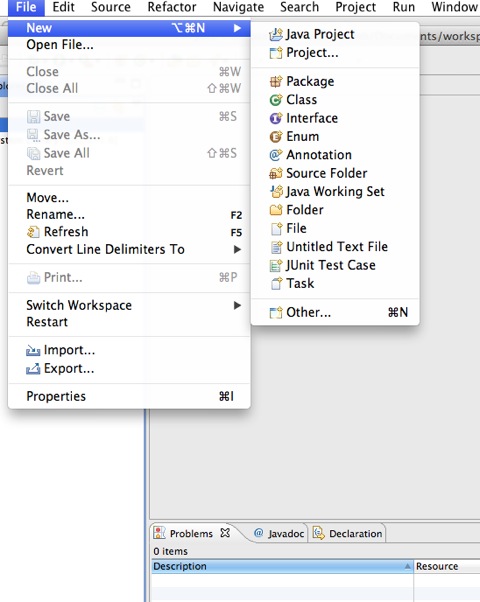
Create a new Project called "1710" by selecting File -> New -> Java Project.
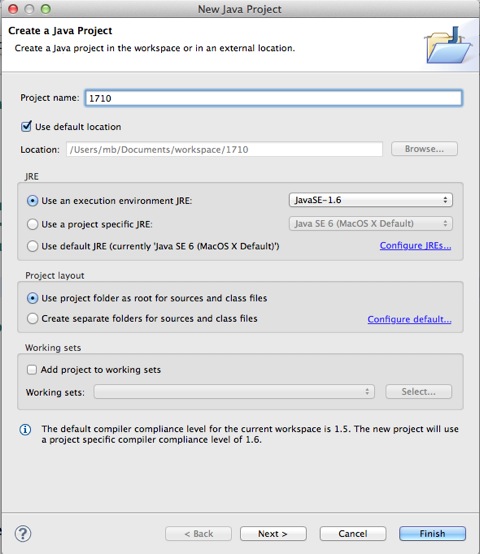
This will cause the "New Java Project" dialog to appear.
It is shown below. In this dialog, do the following:
- In the "Project name:" field, enter 1710.
- Under JRE, choose the latest version of Java as the execution environment, if it is not already selected.
- [IMPORTANT!!!] Under "Project Layout", choose the option "Use project folder as root for sources and class files". The OTHER option is selected by default. The other option is "Create separate folders for sources and class files", but we do not want that option.
- Select the Finish button.
- Now have a look in the "Package Explorer" view. You will now see a folder with the name "1710". An example is shown below.
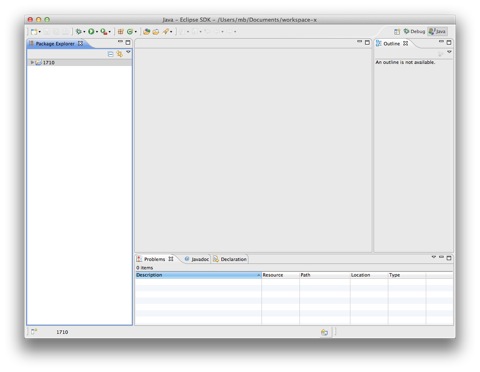
- Now expand the project. (Click on the little triangle)
- You will see that there are already resources contained within your project. They were placed there automatically by Eclipse (thank you Eclipse, my life is easier now!).
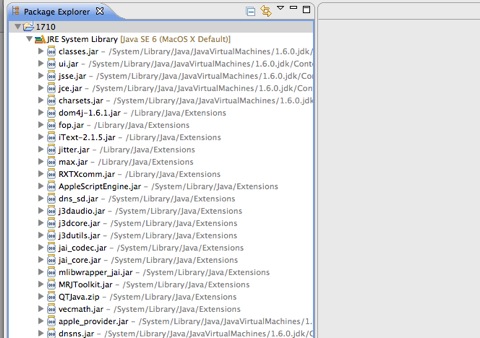
- It will look something (but not exactly) like the screen shot below (depends on your particular system).
- Do you see a sub-directory named "src"? This means you DID NOT follow the instructions correctly above.
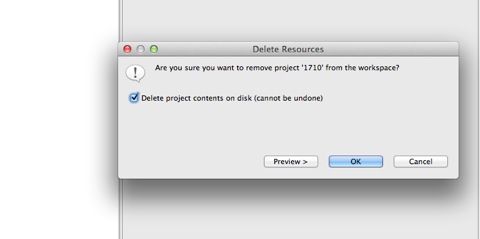
- DELETE the project (Edit->Delete). When you are asked (dialog shown below), be sure to DELETE the project contents on disk. Re-do the steps above.