EECS 4443 / EECS 5443 – Mobile User Interfaces
Winter 2022
Lab #4
Introduction
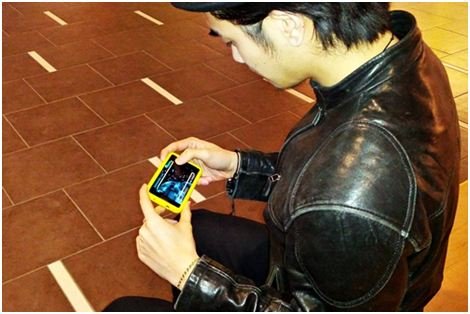
In this lab exercise, you will study and modify the Demo_TiltBall Android application. The application demonstrates the use of device tilt as an input control. Most contemporary mobile devices include accelerometers or gyroscopes, allowing the tilt or rotation of the device to be sensed. The most obvious application is to change the display orientation between portrait and landscape as the device is rotated. Device tilt can also be used as an input control. One application is target selection, where device tilt is used to move a cursor (e.g., a ball) to a target and select the target:The images above are from MacKenzie and Teather's FittsTilt: The Application of Fitts' Law To Tilt-based Interaction. Another application is games, where device tilt can be used to control, for example, a paddle in a pong-like game: 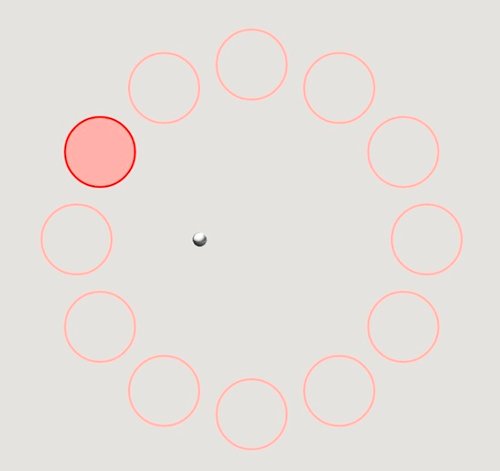
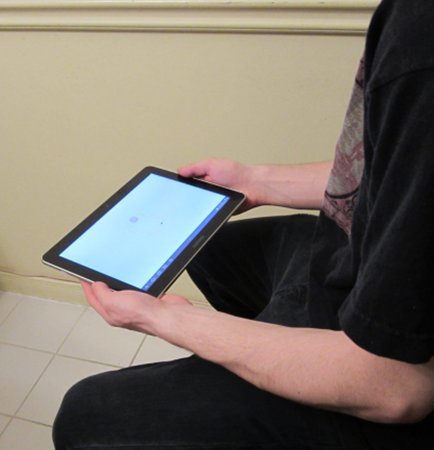
The images above are from Medryk and MacKenzie's A Comparison of Accelerometer and Touch-based Input for Mobile Gaming. This lab further explores the use of device tilt for games of the marble-maze variety. In a marble-maze game, a ball or object is manouevred through a path by tilting the device. Here's an example: 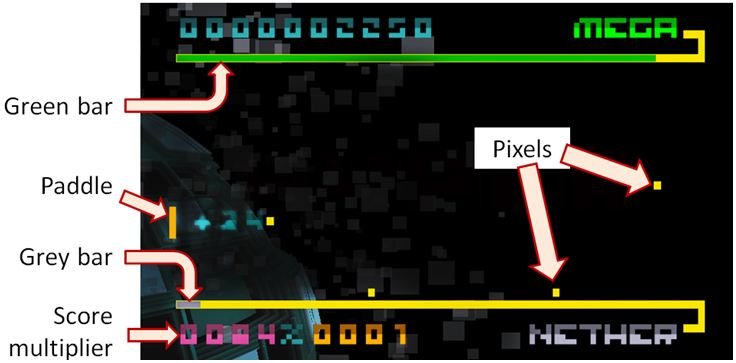
Preparation: 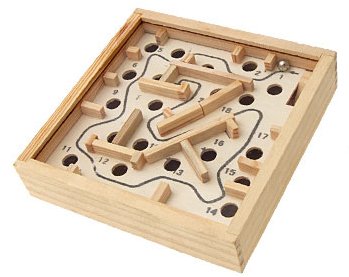
As with the other labs, you should treat this lab as an assignment. Try to finish the lab prior to the scheduled lab period. Debugging is time-consuming and the scheduled lab will be busy. The TA will work with all students, as time permits, checking work and helping with debugging.
- Previoius Labs – If you have not completed Labs #1, #2, and #3, do so now before proceeding with this lab exercise.
- Demo_Sensors and Demo_TiltMeter – These demo programs were discussed and demonstrated during classroom lectures. Now it's your turn. Download the Demo_Sensors and Demo_TiltMeter project files and create the corresponding Android projects. Run the applications and observe their behaviour. As well, study the JavaDoc (API), the linked-to resources, the source Java code, and the comments within.
Objectives
Upon completing this lab, students will have the skills to do the following:
- Implement an Android application that uses a built-in device sensor.
- Implement an Android application that uses device tilt as an input control.
- Implement an Android application that collects data that are stored in the device's internal memary card.
- Implement an Android application that collects and displays human peformance data.
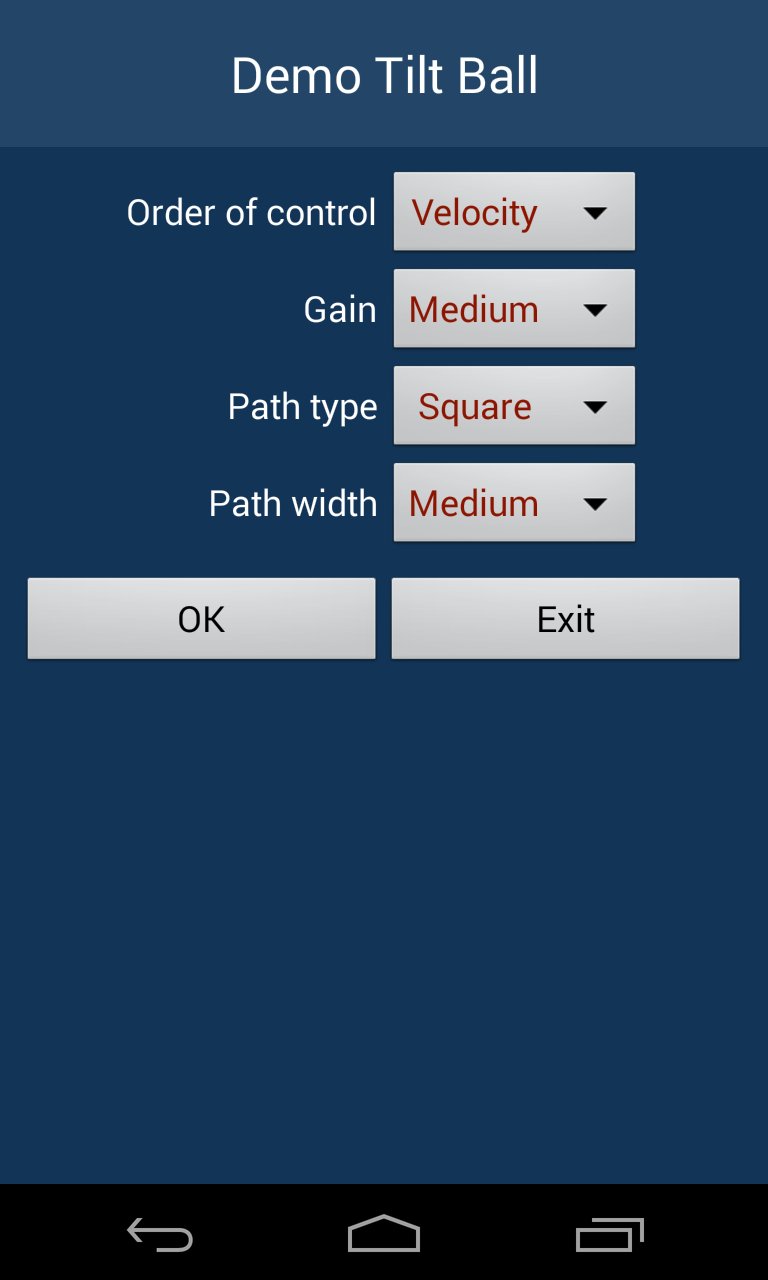
Task 1 – Load the “Demo_TiltBall” Project
Download the Demo_TiltBall project file and create an Android project in your workspace. Follow the same procedure as given in Lab #1, Task 2. Read the JavaDoc (API) for Demo_TiltBall, including the linked-to resources. There are three source files:Study the source code and related comments. Pay particular attention to the notes on "Human Performance" in the API. These notes pertain to the changes you are asked to make in Task 4 below.
DemoTiltBallActivity.java– the main activity for the applicationDemoTiltBallSetup.java– the setup activity (which lanches first)RollingBallPanel.java– a view that displays the ball and path
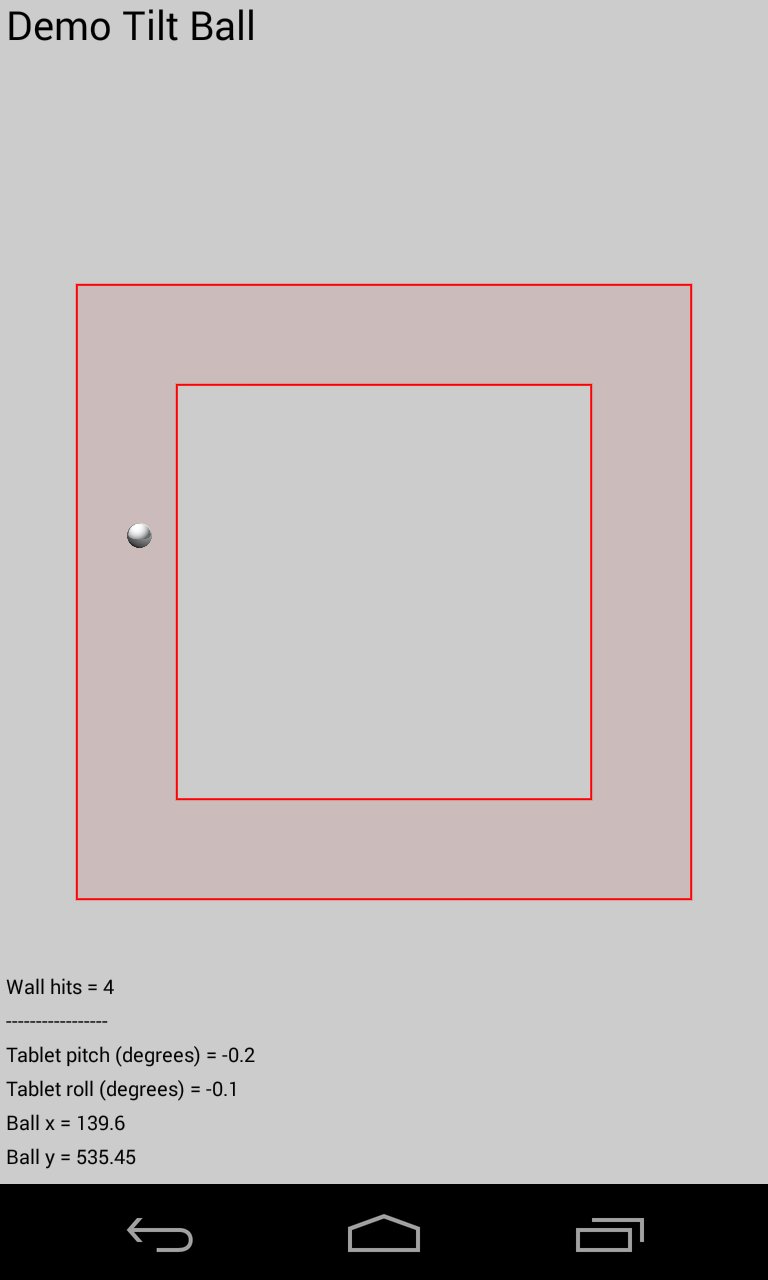
Task 2 – Run the Application
Run Demo_TiltBall. Follow the same procedure as given in Lab #1, Task 3. Observe the application's behaviour. Manoevre the ball around the path by tilting the device. Explore the various operating parameters selectable through the setup dialog. Before proceeding, ensure that the mapping is correct between tilt angle and the direction of ball movement. Also verify that the control is smooth (i.e., not jittery). If necessary, modify the code so that the demo works properly on your device.
Task 3 – Personalize the Project
Make a personalized version of the Demo_TiltBall project. Follow the same procedure as given in Lab #1, Task 4. All modifications (see next Task) are to be made in the new personalized version of the project, not in Demo_TiltBall.
Task 4 – Modify, Debug
Make the following changes to the personalized project. As with Lab #1, please document your changes via source-code comments. Indicate what you did, and why you did it.
- Your Prism login ID. In the setup dialog, display your Prism login ID at the top, where "Modified" appears. See below.
- Number of Laps. The setup dialog includes several spinners to specify operating parameters for Demo_TiltBall. Add a spinner for "Number of laps":
This setup parameter sets the number of laps around the path the user must manouevre the ball. 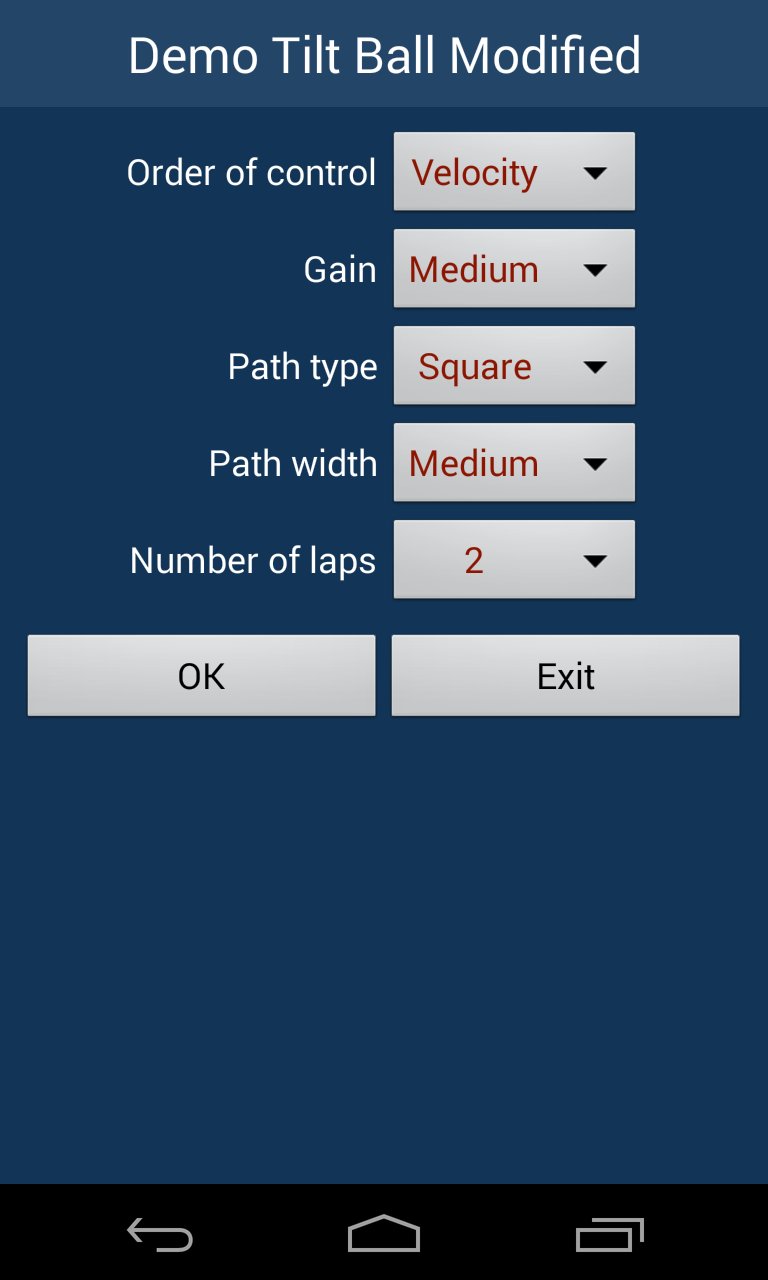
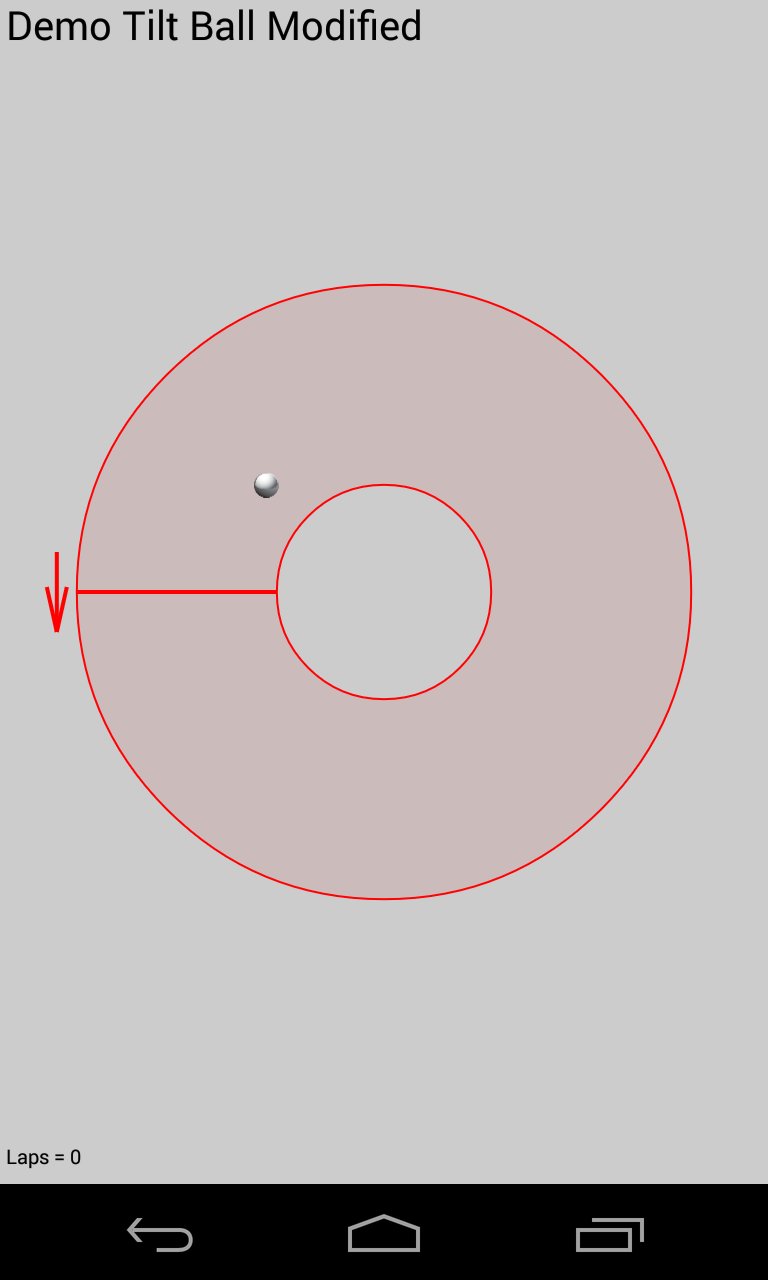
- Lap and Direction Indicators. Add a lap line and a movement direction arrow to the rendering of the paths. The purpose is to give a "game flavour" to the demo. The lap line represents the starting and ending location in the path for moving the ball through laps. The movement direction arrow provides an indication to the user of the direction of movement. The following image is an example:
- User Performance Data. Modify the code to collect and display user performance data. Data collection begins at the beginning of the first lap. The first task is to recognize and count laps. The first lap begins when the ball moves through the lap line in the specified direction. Each time the ball subsequently crosses the lap line (in the correct direction), a lap is registered. Include an audio signal, such as a beep, each time the ball moves through the lap line in the required direction. Ideally, the user manoevres the ball through the lap line, then around the path, reaching the lap line again at the end of a lap. Of course, perfect ball control is not possible. As a minimum check on cheating, ensure that the path of the ball for each lap extends at least to the opposite side of an imaginary vertical line down the center of the display. Modify the software to collect the following user performance data: (i) the time for each lap, (ii) the number of wall hits, and (iii) the percentage of time the ball was fully inside the path. Note: The existing code vibrates and registers a "wall hit" when the ball touches a line bordering the path. This occurs in two situations: (i) moving out of the path from a position inside or (ii) moving into the path from a position outside. Modify this so that a wall hit is only registered when the ball touches a border line moving from a position inside the path. After the specifed number of laps are completed, the application initiates a results activity to present a summary of the user performance data. Present the following summary data:
The UI for the results activity includes buttons to either return to the setup dialog (to do the task again) or to exit the application. Here's an example:
- Number of laps
- Lap time (mean per lap)
- Number of wall hits (total)
- Percentage in-path movement time (mean per lap)
This is just an example. Feel free to use your own ideas on how best to present the results. As a suggestion, just use 
Log.imessages to output the summary data while debugging. After the data are correct, work on displaying the results in the UI and improving the presentation.- Original Feature. Add a new feature of your own design. This requirement is open-ended: It's up to you! Add some feature to the UI that makes it a better user interface. Try to be original.
Task 5 – TA Checkpoint
Checkpoint
When ready, write your name and workstation number on the whiteboard and the TA will meet with you as soon as he or she can. Be ready to answer TA questions about the modifications you have made or other details in the modified demo program.
Task 6 – Zip and Upload the Modified Project
After the TA has "checked off" your modified project, create a single zip file of the entire project and upload it on eClass for Lab 4. Follow the procedure given in Lab #1, Task 7. Of course, for this lab, you are uploading "4443 lab2" and you are uploadingDemo_Buttons_99999.zipwhere99999is the last five (5) digits of your student number.
NOTE: To receive a grade for a lab, you must upload the zip file and demo your work to the TA (and get "checked off"). The demo must be done during the scheduled lab period.
--- End of Exercise ---