EECS 4443 / EECS 5443 – Mobile User Interfaces
Winter 2022
Lab #1
Introduction
This lab exercise will guide you through the process of developing an Android application in the lab. Our example application is Demo_Android.
Although you can complete the lab activities on your own computer, you must also perform the activities in the lab to prepare your account for future lab exercises and to demonstrate your work to the TA.
It is recommended that you treat this lab as an assignment. Try to do the lab exercises prior to the scheduled lab period and use the lab period to get "checked off". Debugging is time-consuming and the scheduled lab will be busy. The TA will work with all students, as time permits, checking work and helping with debugging.
Objectives
Upon completing this lab, students will have the skills to do the following:
- Configure Android Studio.
- Load an existing Android project.
- Make a personalized copy of that Android project.
- Run the Android code, debug it, and implement specified changes.
Task 0 (Optional) – Customize the Linux UI
Covid-19 Note: Skip this step if you are not using a linux machine.The lab environment for EECS 4443 uses linux (actually, a flavour of linux called Centos 7). You might want to customize the look and behaviour of the linux UI, for example, to make it similar to Microsoft Windows. You can do this using an app called Tweak Tool.
Launch the Tweak Tool, as follows. From the linux desktop display, open "Activities" (top-left), then type "Tweak Tool" in the search bar. The Tweak Took icon appears. Select it to launch Tweak Tool.
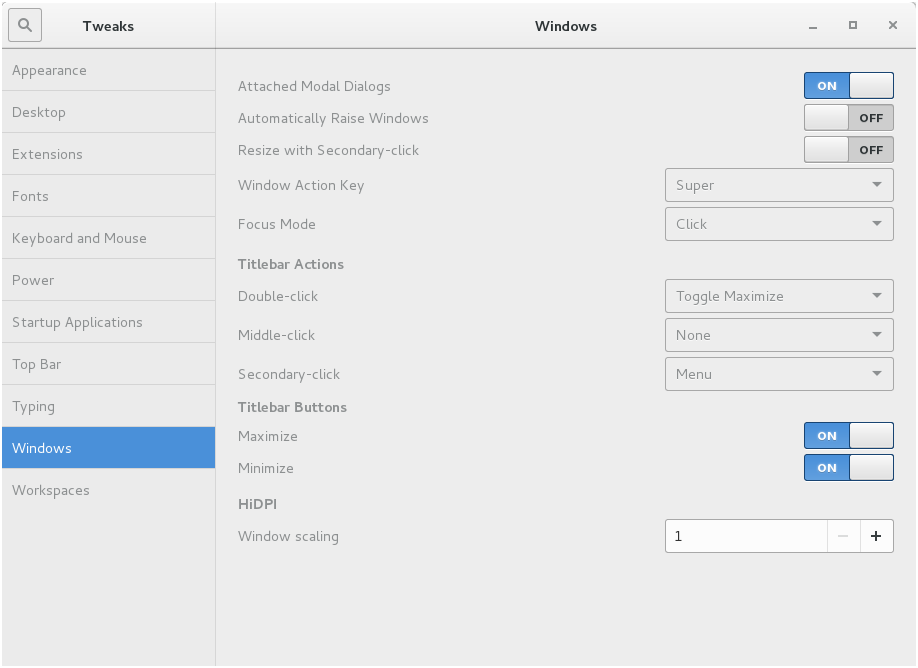
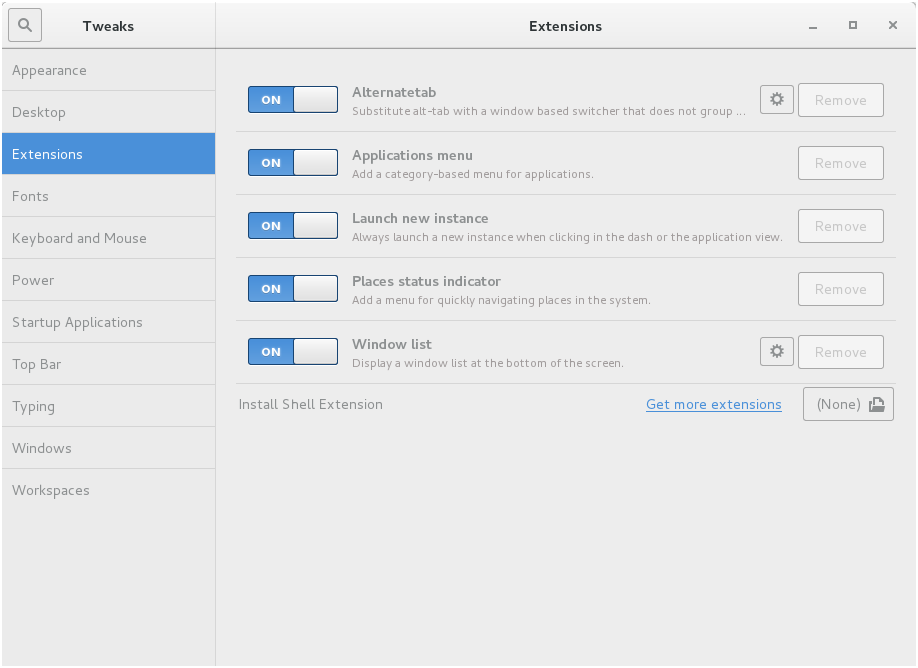
Within Tweak Tool, UI options appear on the left. Select those you'd like to tweak. Some settings you might find useful are shown below (click to enlarge), but this is for you to decide.
Task 1 – Configure Android Studio
Covid-19 Note: Skip this step, since Android Studio should already be installed and configured on your computer.
Android Studio is an integrated development environment specifically designed for Android.
Before you begin this lab, it is important to have at least 300 MB of free space in your disk quota. Open a terminal and check your disk usage by entering the command quota -v. Do not proceed until you have at least 300 MB of available disk space.
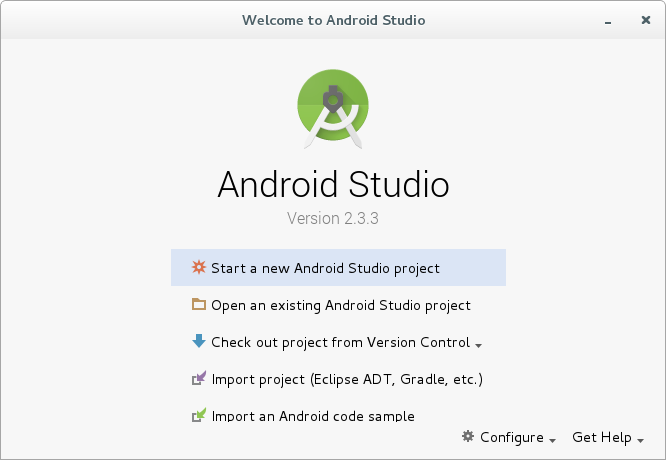
To start Android Studio, enter the command studio &:
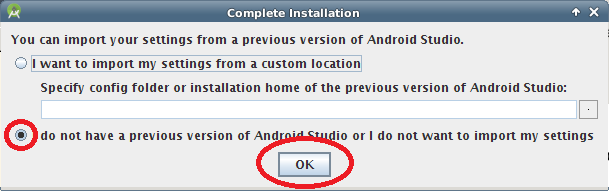
If this is your first time running Android Studio in Prism, the dialog below will automatically appear. The default value should be "I do not have a previous version...". Ensure it is selected, and then click
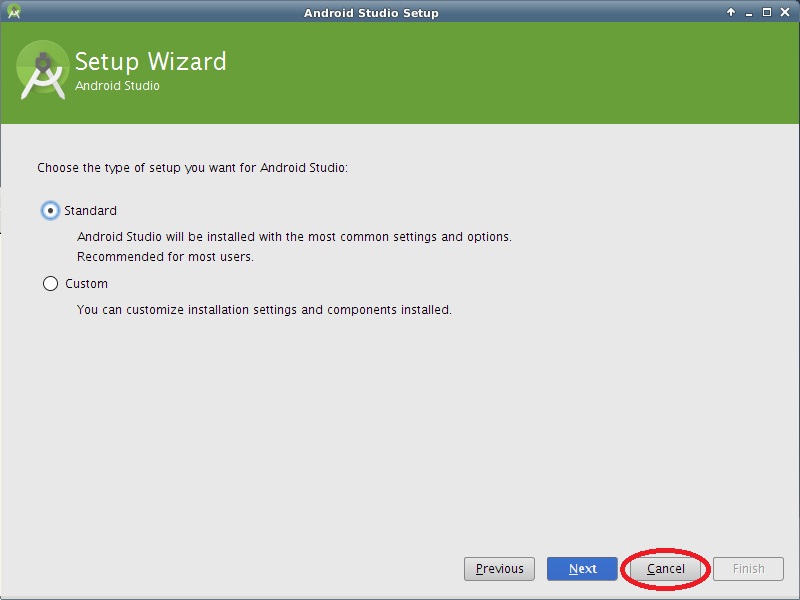
OK.The Setup Wizard offers to configure Android Studio for you. Click
Nextto continue.Unfortunately, the wizard also wants to download gigabytes of SDK updates to your user account. This will exceed your disk quota and cause errors. To prevent this, simply click
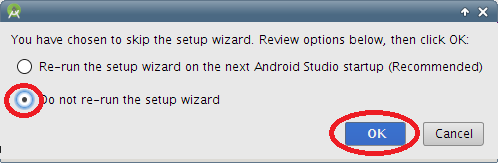
Cancel.Confirm that you do not want to run the wizard again, and click
OK. Android Studio will automatically use the SDKs that are already installed on Prism.This is the Android Studio welcome screen. Your initial set up is complete!
Task 2 – Load the “Demo_Android” Project
Covid-19 Note: Create a directory on your computer – perhaps called "4443" – to hold your Android projects for the 4443 labs.
Click on the terminal window to put Android Studio in the background.
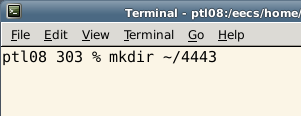
Create a directory to save your 4443 work:
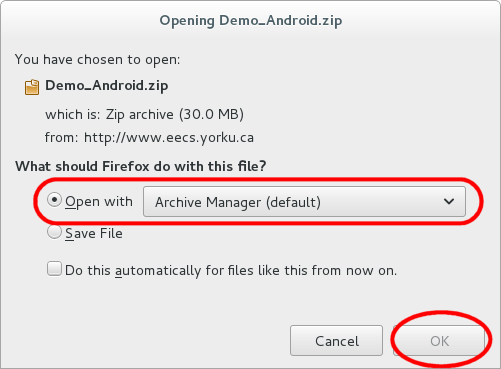
Next, click this link – Demo_Android – to downloand our first Android project. From the dialog, select "Open with Archive Manager (default)" and click
OK:
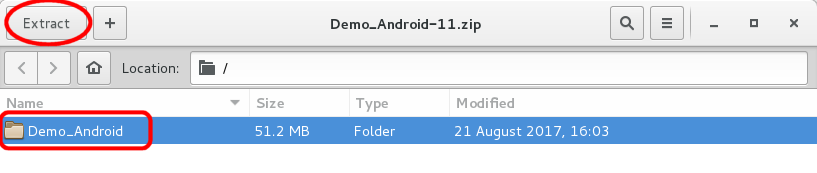
From the dialog, select "Demo_Android", then click
Extract:
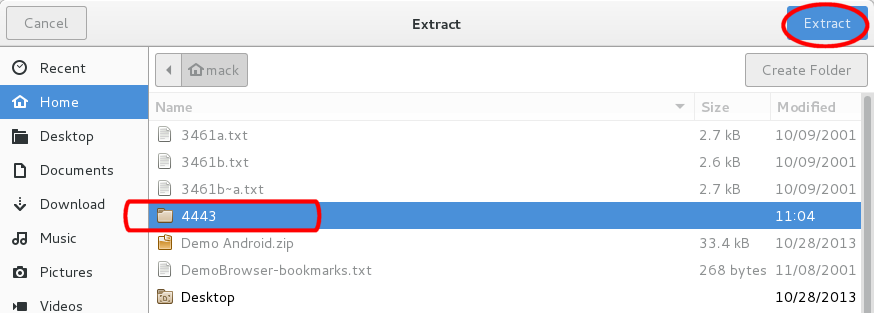
From the Extract dialog, select your 4443 workspace, then click
Extract:
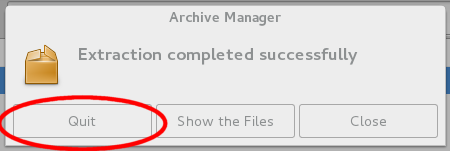
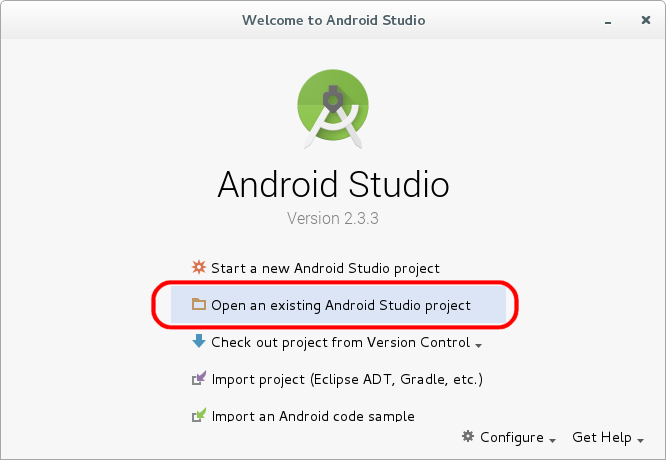
When the extraction is completed, click
Quit:Click on the Android Studio window to put the terminal in the background. In the Android Studio Welcome screen, select "Open an existing Android Studio project".
Navigate to your 4443 directory and select "Demo_Android" and click
OK. If a dialog appears warning about a change in the SDK location, simply clickOKand continue.
Android Studio will open and build the Demo_Android project. This may take a few minutes – be patient!
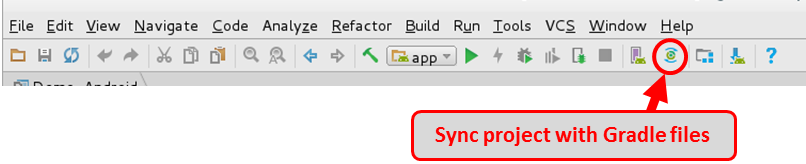
Hopefully, the build will complete without errors. If there are errors, try syncing the project with the Gradle files.
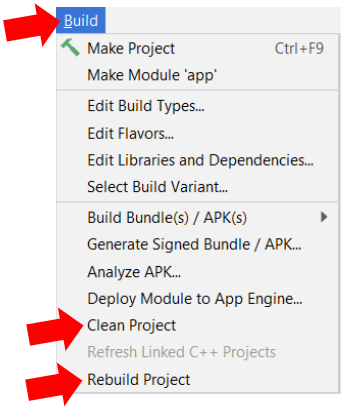
Another step to use in the event of errors (this applies to all your lab work for 4443) is to select the
Buildmenu and then clickClean ProjectorRebuild Project.
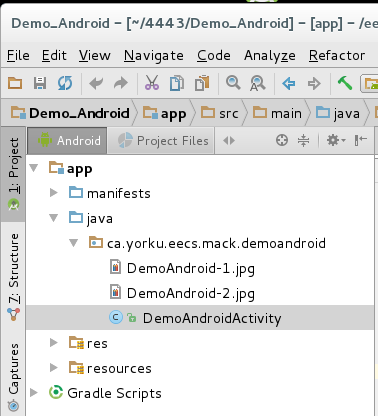
In the Project panel, expand "app", "java", "ca.yorku.eecs.mack.demoandroid", and double-click "DemoAndroidActivity".
Task 3 – Run the Application
For this task, you will need an Android device. You will also need the USB cable provided with the device. Before an Android device can be used for debugging, it must be configured. If the device has not yet been configured for debugging, follow the steps in Steven Castellucci's Android Device Setup.
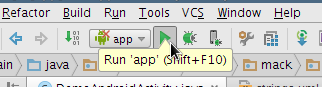
Connect your Android device to the computer using the USB cable. You will likely be prompted on the device to accept a security certificate. With the DemoAndroidActivity.java tab active, click the run button on the toolbar or select Run from the Run menu.
Select your device from the list of connected devices. In the example below, an LGE Nexus 5x is connected and selected. Click
OK.
You might see the dialog below concerning the Instant Run feature in Android Studio. We are not using this feature. Click "Proceed without Instant Run".

Logging messages and debugging information will appear in the Android Monitor panel at the bottom of the window. If it is not already visible, you can display it by clicking on "Android Monitor" at the bottom of the window. Note that the message underlined in red was generated from the source code in Demo_Android via the
Log.imethod.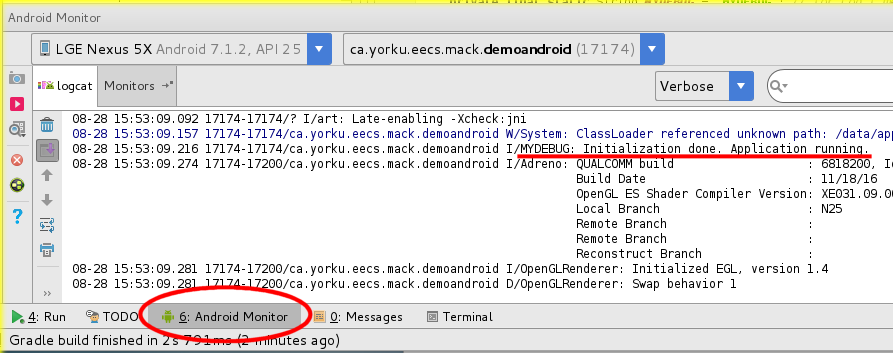
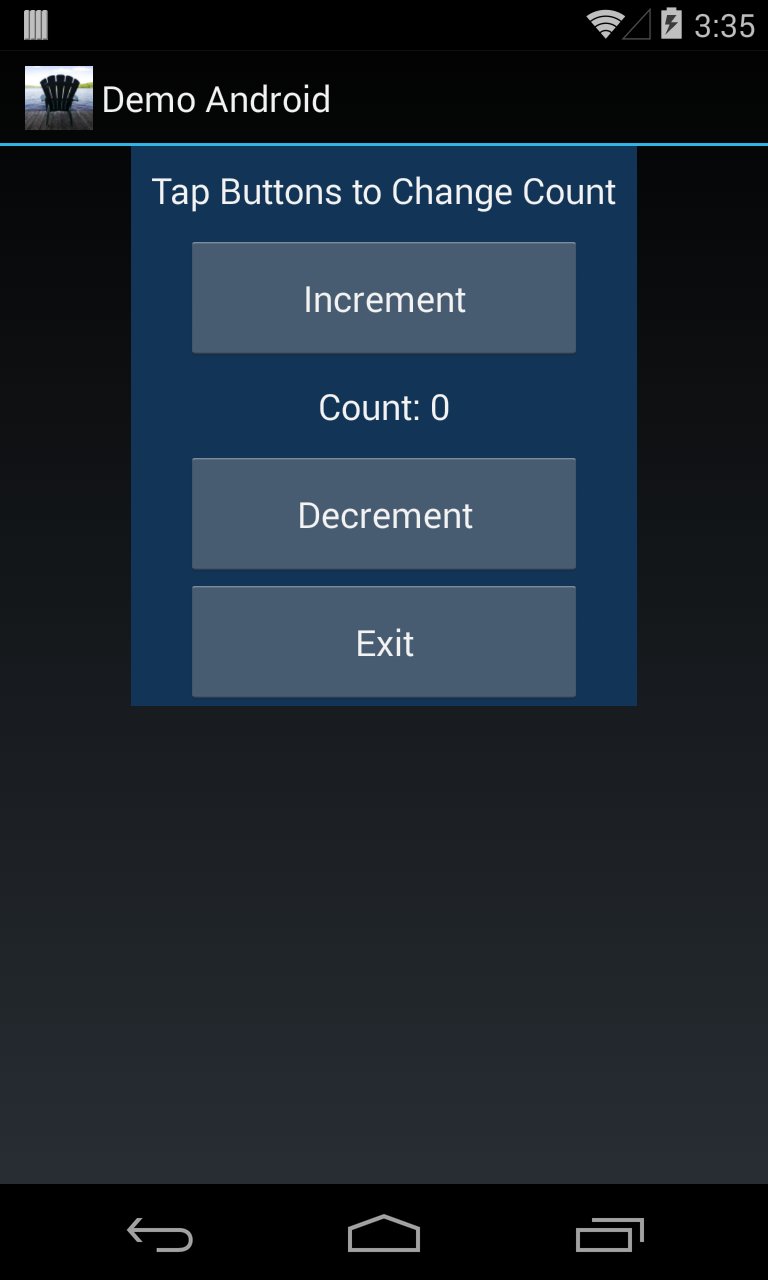
The application will be installed on the device and run. Tap the onscreen buttons of the application. Is the expected functionality correctly implemented? Oops, there seems to be a problem. Proceed with the next step before debugging the code.
Task 4 – Personalize the Project
Make a personalized version of the project, as follows:
- In Android Studio, close the Demo_Android project (from the
Filemenu, choseClose Project).
- Click on the terminal window to put Android Studio in the background.
- Make a copy of the Demo_Android project directory: In the terminal window, navigate to your 4443 workspace (if necessary) and make a copy of the Demo_Android project directory, changing the name as follows:
Forcp -R Demo_Android Demo_Android_9999999999, use the last five (5) digits of your student number.
- Wait for the copy to complete (might take a minute or so), then use the
lscommand to verify that the new project directory is in your 4443 working directory.
- Click on the Android Studio window to put the terminal window in the background.
- In Android Studio, open the new project (Demo_Android_99999).
- Ensure the Project panel is open. If necessary, under the
Viewmenu, selectTool Windows, thenProject.
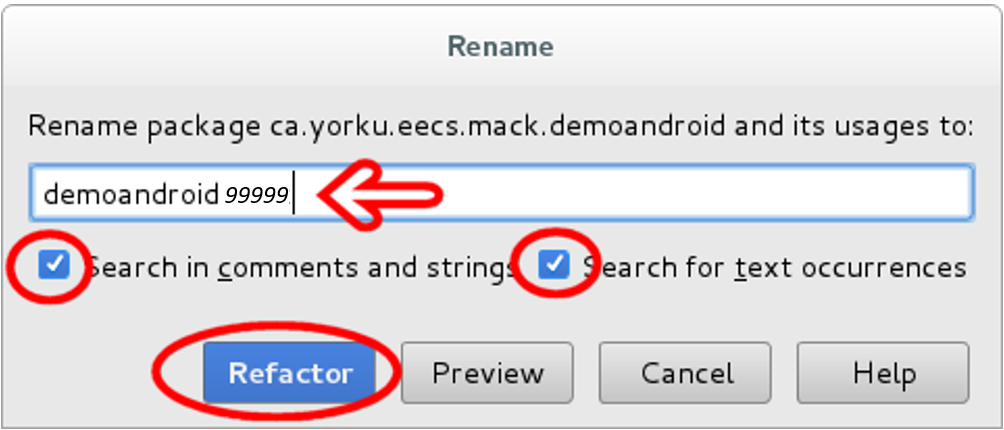
- Change the name of the package: In the Project panel, expand "app" and "java" (if necessary) and right-click on "ca.yorku.eecs.mack.demoandroid". In the menu, select
RefactorthenRename.... (Alternatively, select "ca.yorku.eecs.mack.demoandroid" and enterShift-F6.) In the dialog, clickRename package. In the next dialog, append the last five (5) digits of your student number to the end of the package name (arrow in the figure below – no space, no period). Select "Search in comments and strings" and "Search for text occurrences", then clickRefactor.
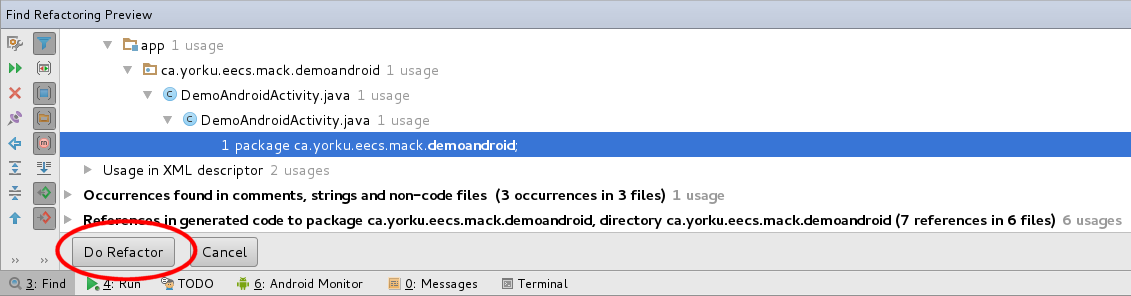
In the Find Refactoring Preview, click "Do Refactor".
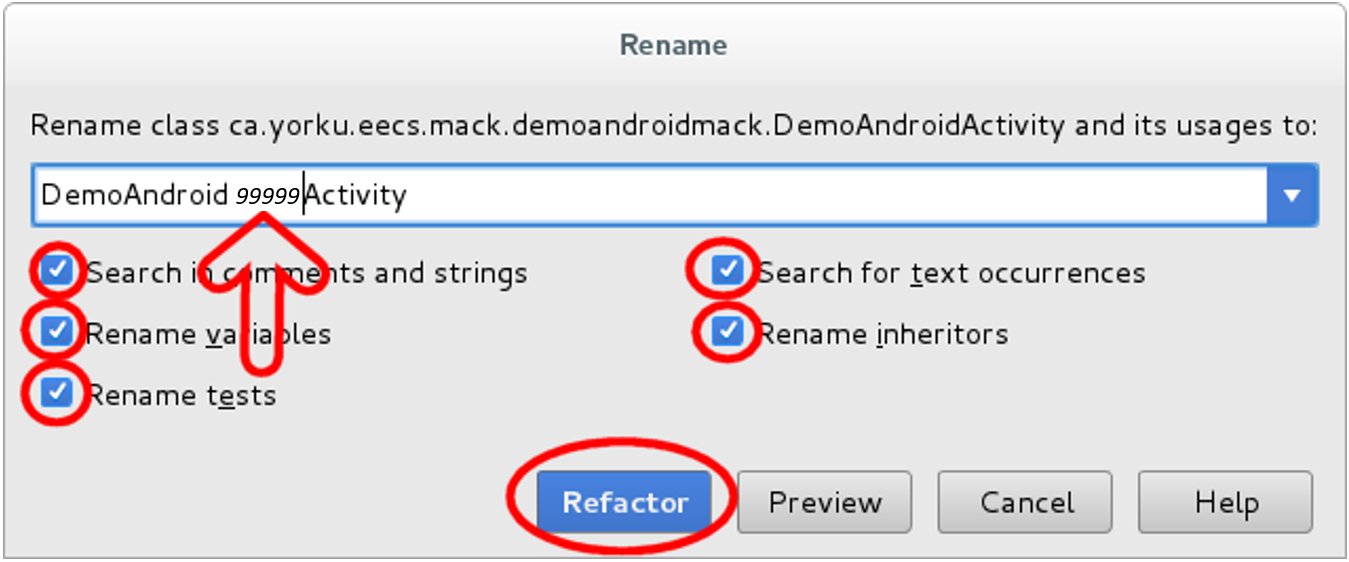
- Change the name of the project's activity: In the Project panel, right-click on
DemoAndroidActivity. In the menu, selectRefactorthenRename.... In the dialog, insert the last five (5) digits of your student number betweenDemoAndroidandActivity(arrow in figure below – no spaces). Ensure all the options are selected, then clickRefactor.
- Modify the comments for the application's API: Delete all the comments at the beginning of the activity's source file and replace with the following:
/**

 * Demo_Android - with modifications by...

 *

 * Login ID - <your login ID>

 * Student ID - <your student ID>

 * Last name - <your last name>

 * First name(s) - <your first names>

 */
- Change the string that identifies the application in the UI: In the Project panel, expand the
resandvaluesfolders. Double-clickstring.xmlto open it. Add the last five (5) digits of your student number to the end of the string namedapp_name(arrow in figure below – with underscore before). Save the changes (Ctrl+S).

- Run the new project: Click the
Runbutton. The new application should run and operate as before. Now proceed to the next task.
Task 5 – Debug, Modify, Debug
Debug the project to correct the problem observed earlier (see Task 3).
As you make modifications, please add source-code comments. Indicate what you did and why you did it.
Hint: In Java programming, print statements are valuable in determining the value of variables and the execution path taken. In Android programming, log statements are just as useful. Log statements already appear on five lines in
DemoAndroidActivity.java. Make the LogCat tab active. Which of the log statements produce output in the LogCat window? What does this mean?Having difficulty fixing the bug? Think about the steps involved in developing a Java/Swing application to respond to button events. For additional insight, review the Android API Guides for Buttons and the Android API Reference for the
Buttonclass.After you correct the bug, make a modification to the UI. Add another button:
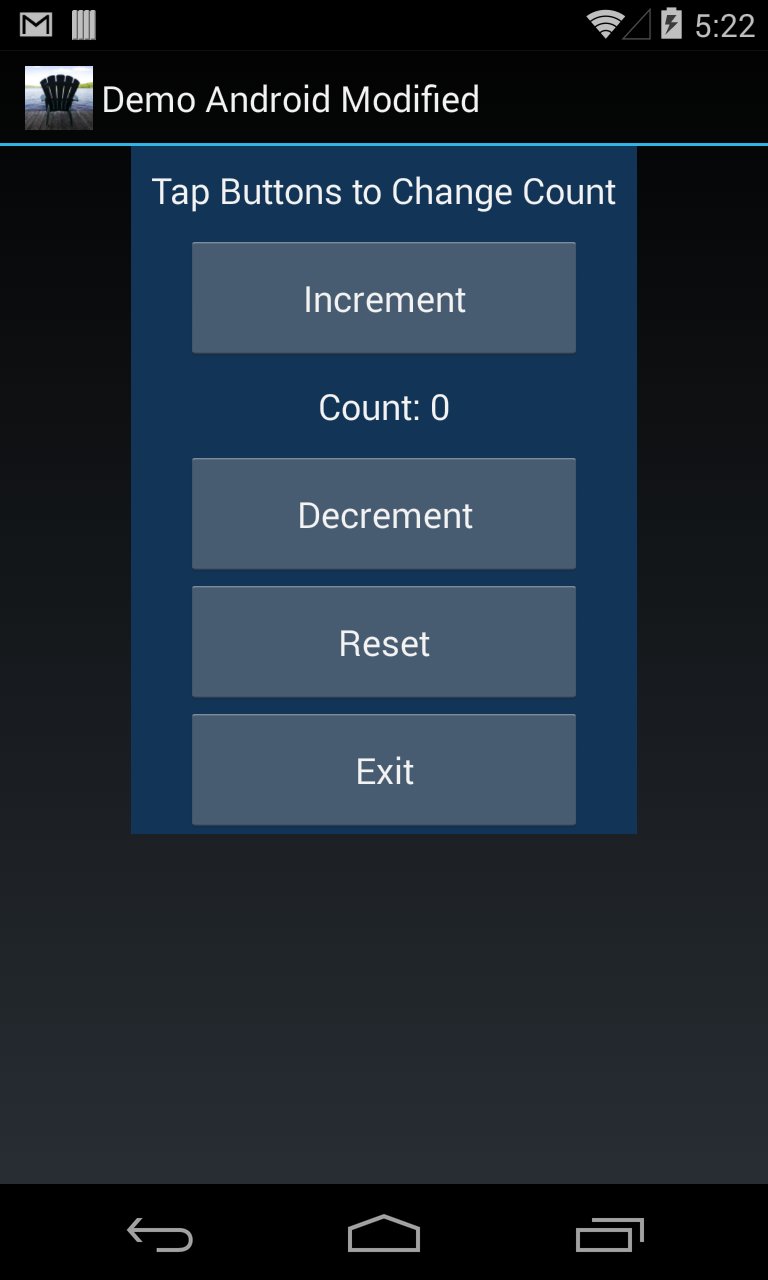
Give the button the label "Reset". When the new button is clicked, the click count should reset to 0.
Continue to run and debug the application until it exhibits the required functionality.
Task 6 – TA Checkpoint
Checkpoint
A “Checkpoint” is an opportunity for the TA to verify that you have completed a laboratory task and to evaluate your understanding of the presented concepts. When ready, write your name and workstation number on the whiteboard and the TA will meet with you as soon as he or she can.
Be ready to answer TA questions about the bug in the Demo_Android application, why it occurred, and how you fixed it. Be prepared to answer other questions about this Android project.
Task 7 – Zip and Upload the Modified Project
After the TA has "checked off" your modified project, create a single zip file of the entire project. The zip file can be created from the terminal (command line) by entering the following commands (where
99999is replaced with the last five (5) digits of your student number):cd ~/4443/
zip -r Demo_Android_99999.zip Demo_Android_99999/
The first command sets the current directory to be your 4443 directory. The second command creates the zip file, adds the "Demo_Android_99999" directory (
-rincludes all files and subdirectories), and preserves all paths relative to the 4443 directory.You can check the contents of the generated zip file by entering the following command (this is optional):
file-roller Demo_Android_99999.zip &Upload the zip file to eClass for Lab 1.
NOTE: To receive a grade for a lab, you must upload the zip file (Task 7) and demo your work in the lab (Task 5). The demo must be done during the scheduled lab period.
--- End of Exercise ---