Using Javadoc in Eclipse
Javadoc is integrated into the lab version of Eclipse, and uses a series of dialog windows to set various Javadoc options. To generate documentation for your current project, select the Project menu and choose the Generate Javadoc... menu item. The following dialog should appear:
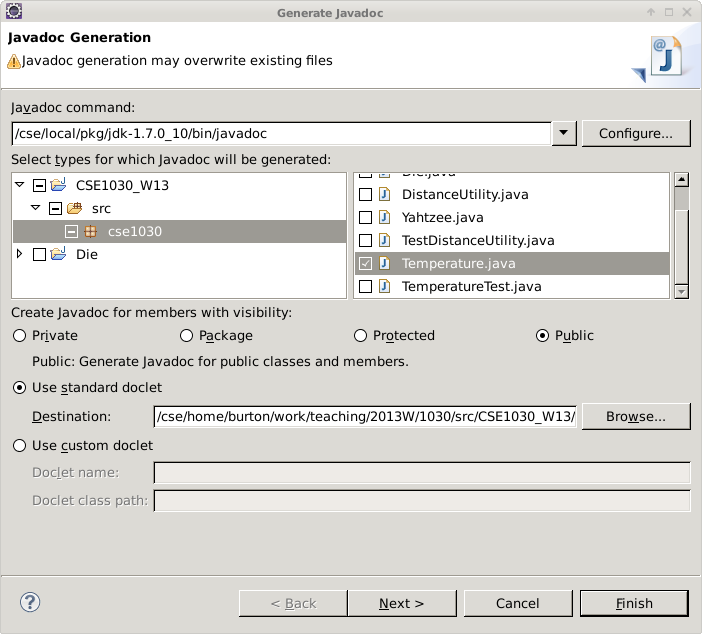
If you have many files in your current project you can choose to generate
the documentation for one, some, or all of the files. Here, I want to
generate the documentation for only the Temperature class so I
have only Temperature.java checked in the list on the right.
If you want, you can choose to place the documentation in a specified directory. The default directory is located under the project directory in a directory named doc. Click the Next button in the dialog.
You should see the following dialog:
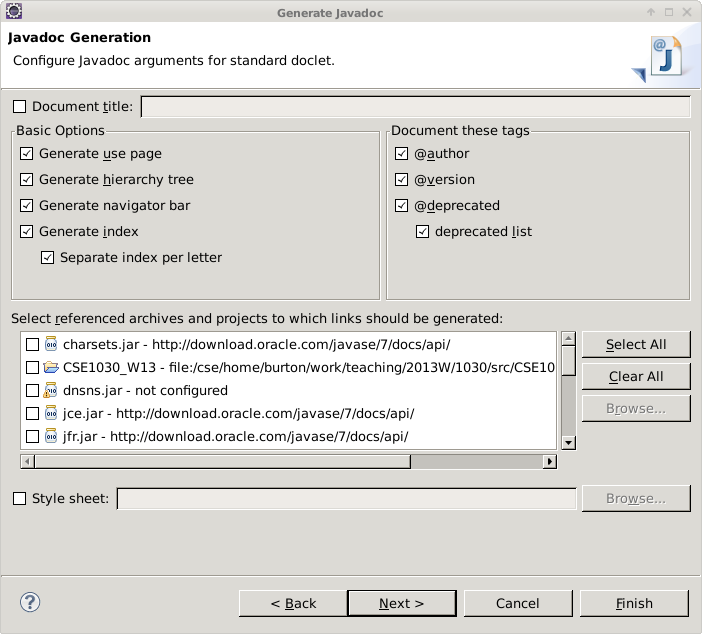
There is nothing to do here for us, so click the Next button in the dialog.
You should see the following dialog:
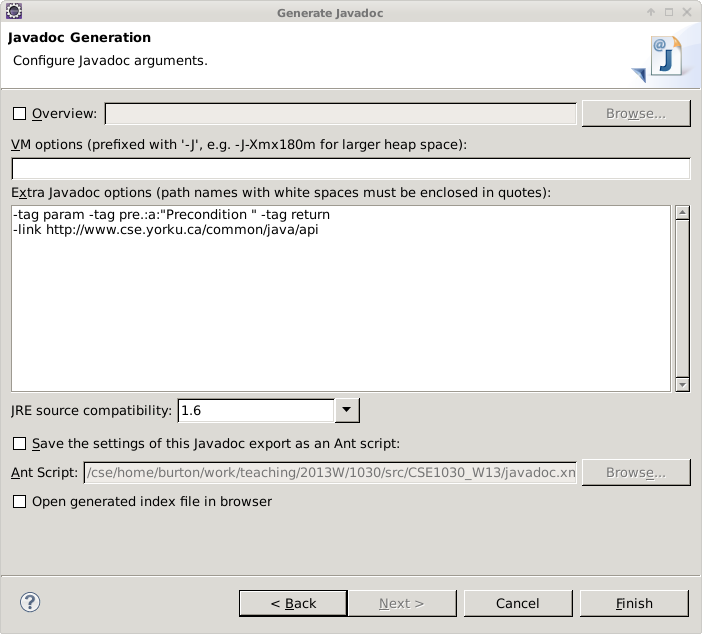
This dialog allows us to specify extra Javadoc options. We need to specify
two options: (1) We need to tell Javadoc how to process our custom
precondition tag @pre.; (2) It is convenient to specify
where the Standard Java library documentation can be found so that our
documentation can link to the Standard Library documentation.
Type in the extra Javadoc options as shown and click the Finish button in the dialog.
Eclipse will tell you if any errors occur while processing your Java files. If there are no errors, you can view the documentation in your web browser.